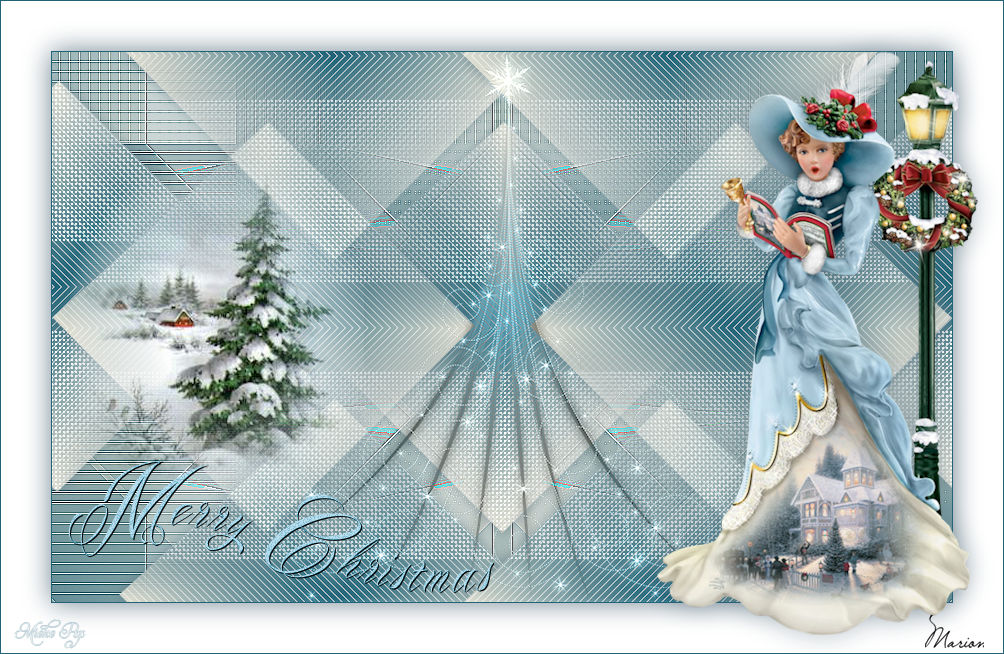
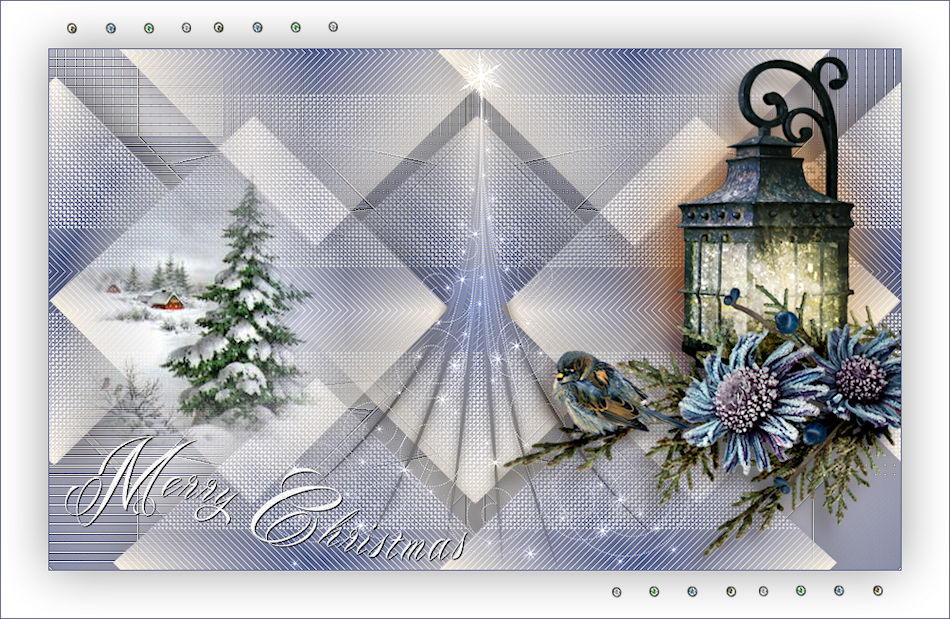
Christmas Lesson---2---2022
Material/ Supplies

Plugins
Filter---AP 01 (Innovations)---lines---Silverlining
Filter---<I C Net Software> Filters Unlimited 2.0>---Toadies
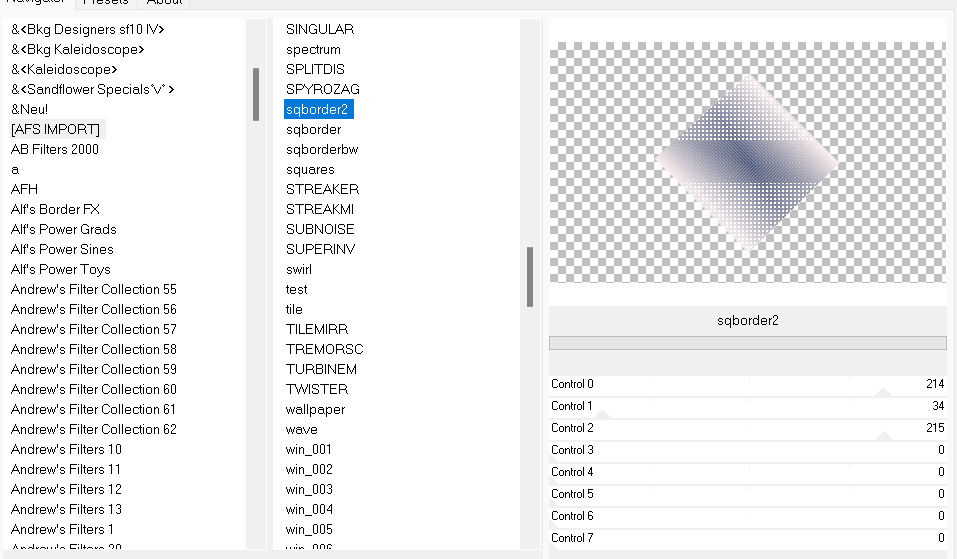
Filter---<I C Net Software> Filters Unlimited 2.0---Alf Import---sq border 2
Material Properties:
Set your foreground color to color---#4e598
Set your background color to color---#fdefef
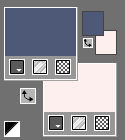
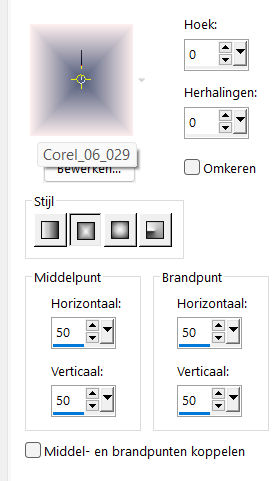
Set your foregroundcolor to foreground/background rectangular gradient with these settings
---0---0---4x 50.
1.
File-Open a new transparent image in this size
Width---900---Height---550.

2.
Flood Fill Tool-Fill the layer with the gradient
3.
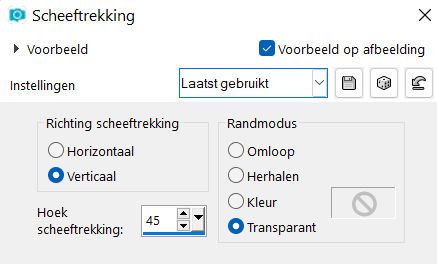
Effects---Geometric Effects---Skew---Vertical---Skew angle: 45---Transparent ckecked.
4.
Effects---Image Effects---Seamless Tiling---
---using the default settings
5.
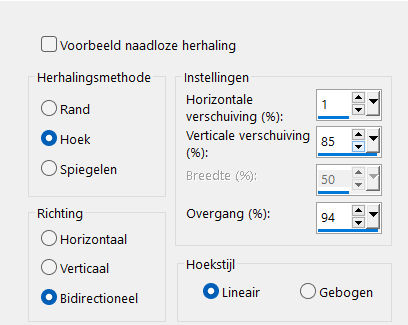
Effects---Reflections-Effects---Rotating Mirror with these settings:
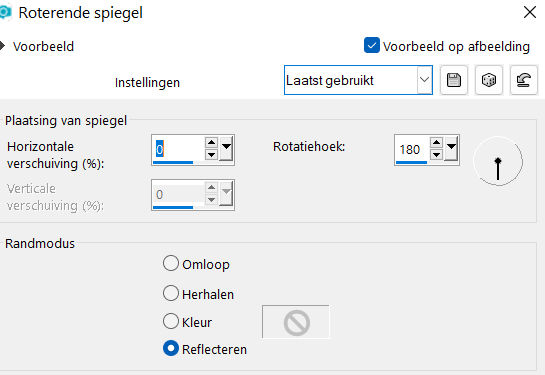
6.
Layers---Duplicate
7.
Image - Mirror - Mirror vertical ( Image - Flip in older versions of PSP)
8.
Selections –load/save selection –load selection from disc and select my selection---Kerstles-2-2022
9.
Selections- Promote selection to Layer
Selections---Select None.
10.
Activate the top of the layer palette
(promoted selection)
Effects---Plugins---AP 01 (Innovations)---lines---Silverlining---Arrows use the settings below:
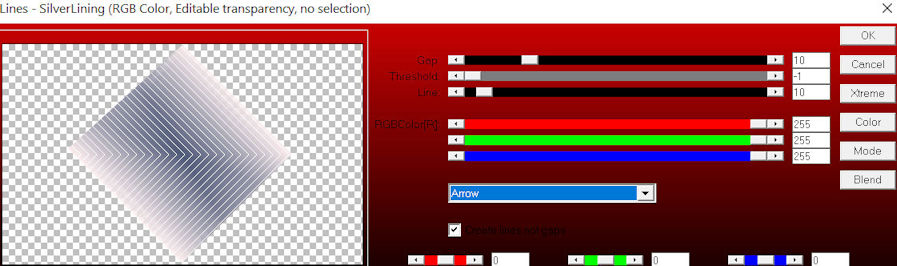
11.
Activate Copy of Raster 1 in the layer palette
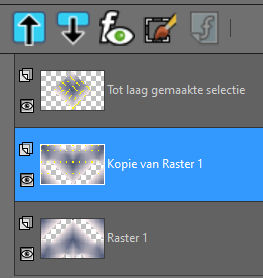
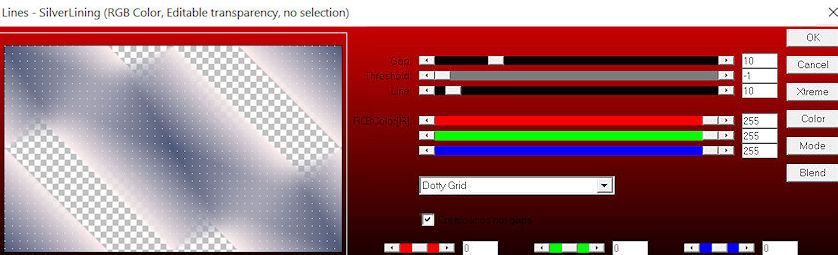
Effects---Plugins---AP 01 (Innovations)-lines-Silverlining---Dotty Grid use the settings below---10---min1---10---3x255.
12.
Layers---Merge---Merge Down..
13.
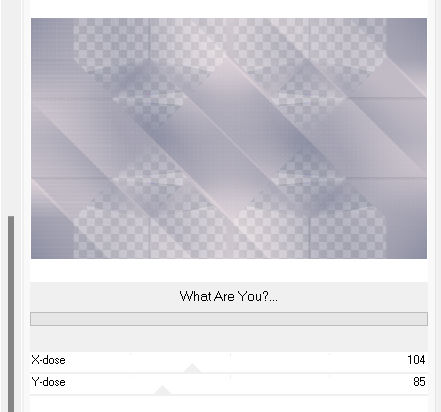
Activate Raster 1 in the layer palette
Effects---Plugins---<I C Net Software> Filters in Unlimited 2.0>---Toadies---What Are You
With these settings ---104---85---Apply
14.
Effects---Edge Effects---Enhance More.
15.
Layers---New Raster Layer
Flood Fill Tool-Fill the layer with color #ffffff (white)
Layers---Arrange--- Sent to Bottom
16.
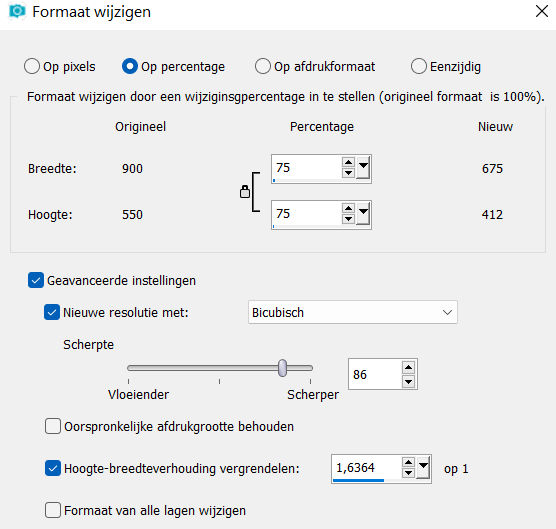
Activate the top of the layer palette
(promoted selection).
Image--Resize by 75%--Resize all layers--Not checked
17.
Effects---Plugins---<I C Net Software> Filters in Unlimited 2.0---Alf Import---sq border 2---214--- rest is fine.
18.
Layers---Duplicate
19.
Image---Rotate Left
20.
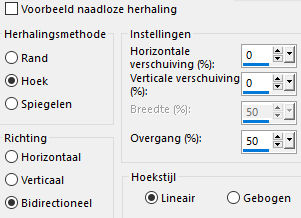
Effects---Image Effects---Seamless Tiling with these settings---
21.
Image---Rotate Right
22.
Objects---Align---Left
23.
Layers---Duplicate
Image - Mirror - Mirror Horizontal (Image - Mirror in older versions of PSP)
24.
In the layer palette-- activate promoted selection layer.
25.
Effects---Image Effects---Seamless Tiling with the same settings
26.
Give the top 3 layers in your layer palette the following
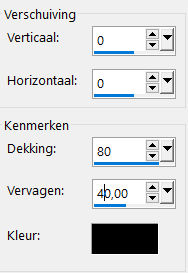
Drop Shadow
Effects---3D-Effects--- Drop Shadow---0---0--80---40. Color black .
27.
Open the Tube--- deco-35..png
Edit ---Copy
Activate your work -Edit - Paste as a new layer
Layers-Properties-Set the Blend Mode to " Luminance Legacy "
28.
Open the Tube--- 0_a4063_766bd2b_XXL.png
Edit ---Copy
Activate your work -Edit - Paste as a new layer
29.
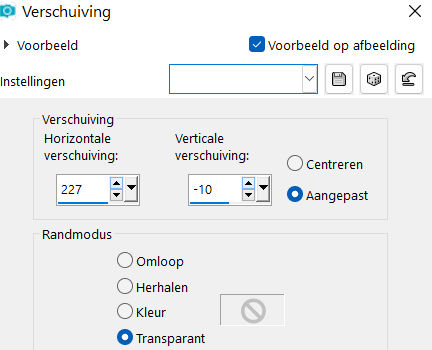
Effects---Image Effects—Offset with these settings---227---minus 10--- Transparent checked..
30.
Open the Tube--- deco-2.png
Edit ---Copy
Activate your work -Edit - Paste as a new layer
Effects---Image Effects—Offset with these settings---minus 285---minus 10---Transparent checked.
31.
Open the Tube-Tekst
Edit ---Copy
Activate your work -Edit - Paste as a new layer
Effects---Image Effects—Offset with these settings ---minus 220---minus 200--- Transparent checked..
32.
Image - Add Borders-Symmetric checked ---1 Pixel--- with your dark color
Selections---Select All
Image - Add Borders-Symmetric checked ---50 Pixels---Color white
Effects---3D-Effects---Drop Shadow with these settings : ---0---0--80---40. Color black
Selections---Select None
Image - Add Borders-Symmetric checked ---1 Pixel--- with your dark color
33.
Open the Tube---Rand
Edit---Copy
Activate your work -Edit - Paste as a new layer
Add you watermark on new layer.
Save as JPG.
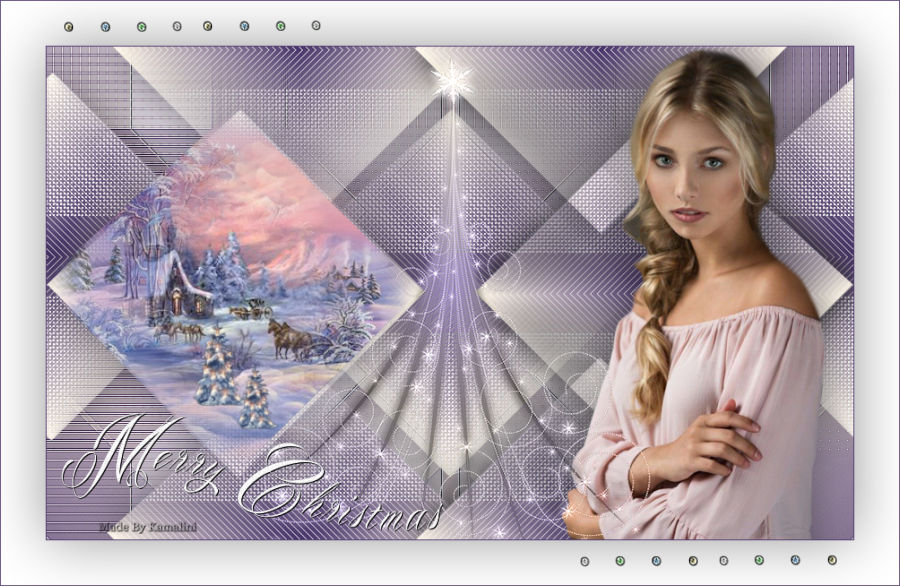
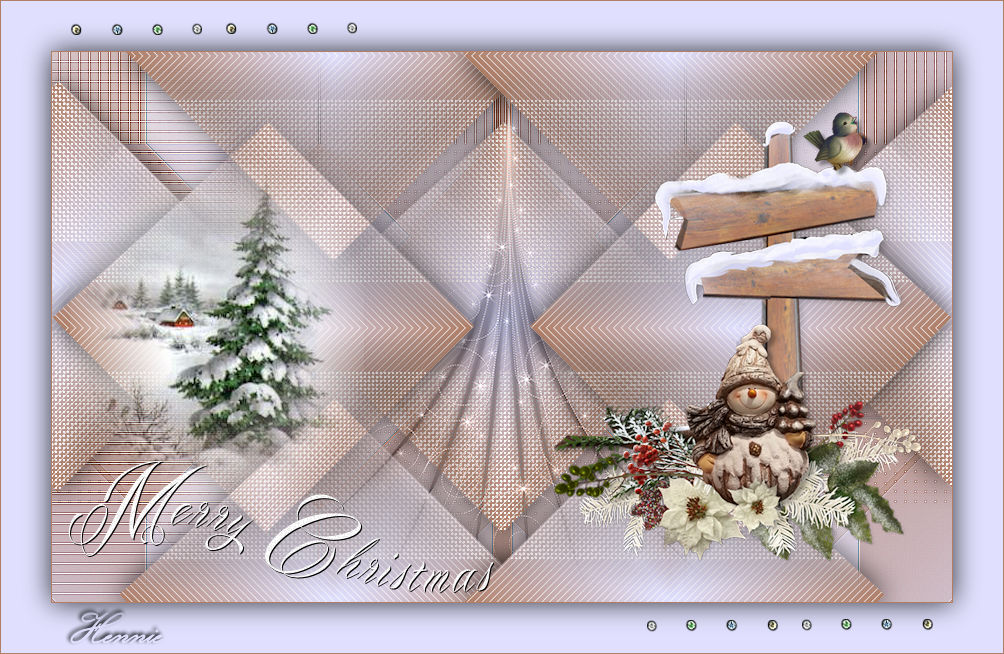
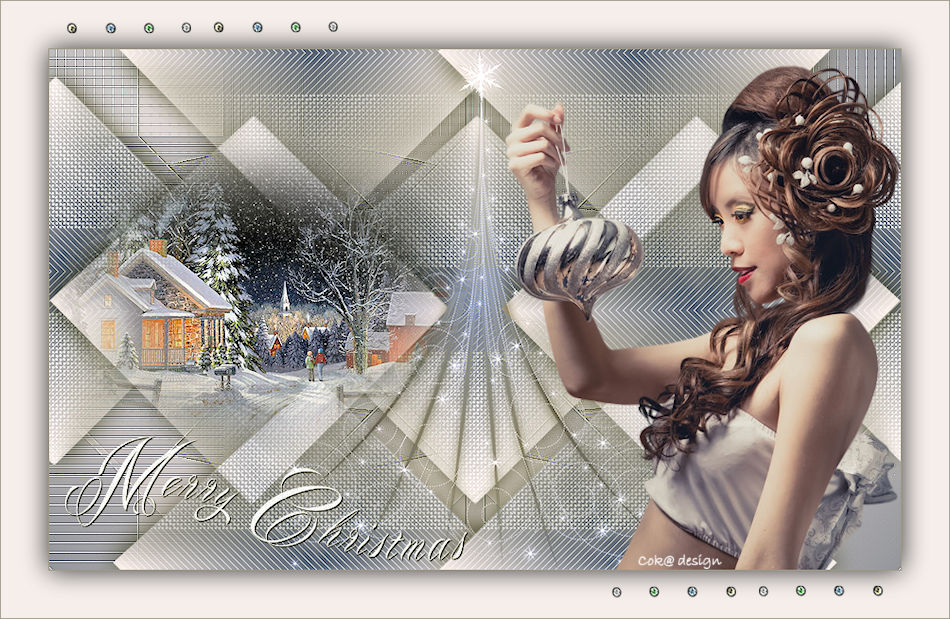
Voorbeelden gemaakt door Kamalini---Hennie---Corrie---Marion
 
|