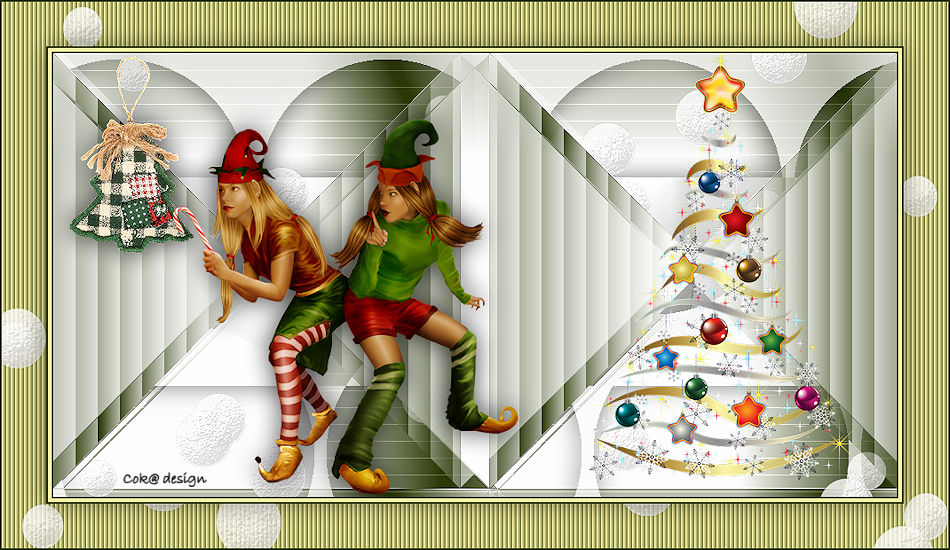
Christmas tutorial 4---2020
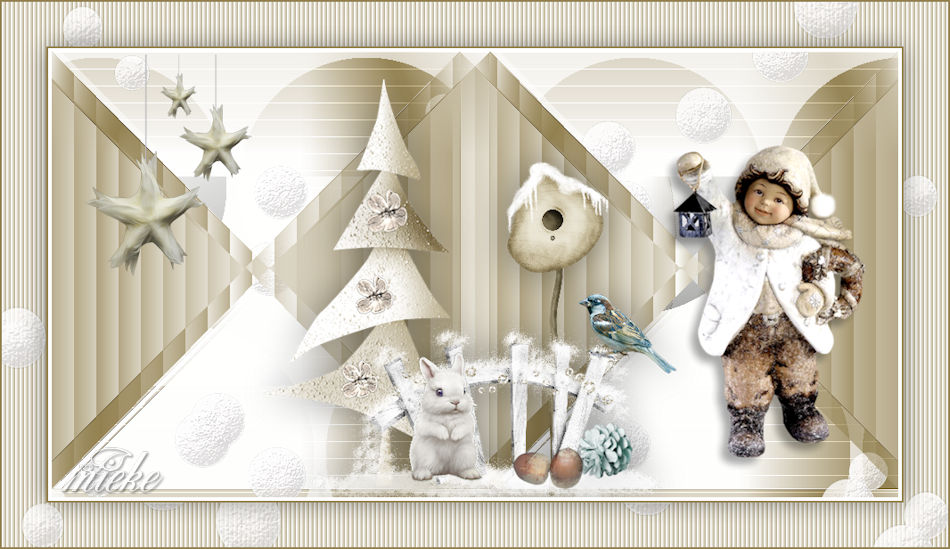
Supplies
Materials

Filters
Filter---<I C Net Software> Filters Unlimited 2.0---Filter Factory Gallery---D
Filter---Carolaine and Sensibility---cs texture
Color Palett---Foreground color---#93815---Background color #ffffff

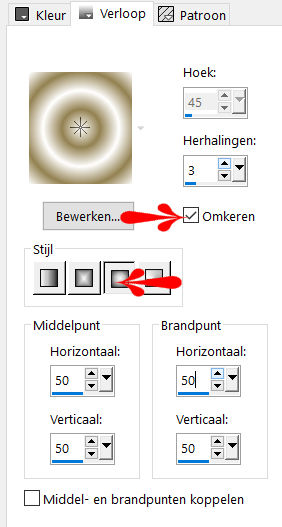
Set your Foregroundcolor to foreground-background "sunburst " gradient configured like this
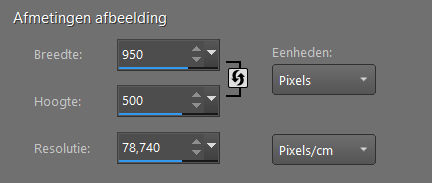
File---Open a new transparent Image of 900/500 PX
 Gebruik de aanwijzer om aan te geven waar je bent gebleven.
1.
Flood Fill Tool---fill the layer with the gradient
2.
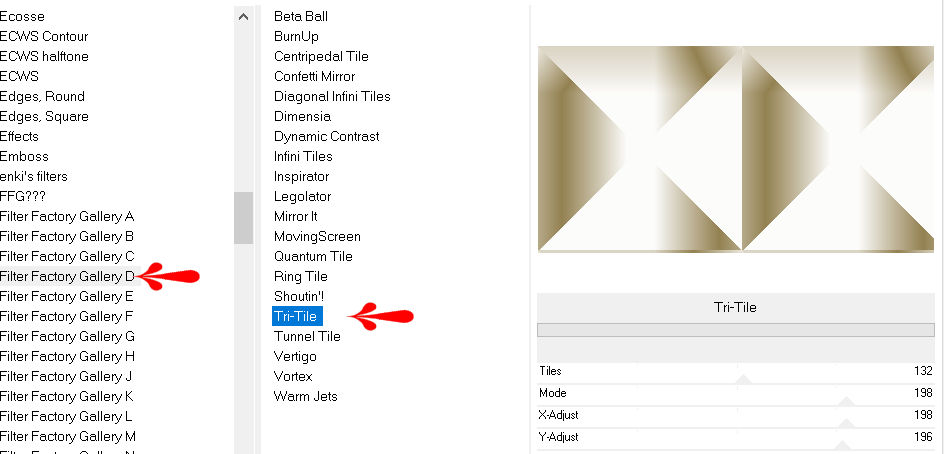
Effects---Plugins---I C Net Software> Filters Unlimited 2.0---Filter Factory Gallery D---
With these settings :Tri Tile---132---198---198---196
3.
Effects---Edge Effects --- More.
4.
Selections---load/save selection---load selection from disc and select my selection:mb-kerst-4-2020
Selections---Promote selection to layer
5.
Effects---Textureffects---Blinds---25---60---Color White---Light from left/top checked

6.
Selections---Deselect All
7.
Layers---Duplicate
Image---Mirror---Mirror Horizontal (Image---Mirror in older versions of PSP)
8.
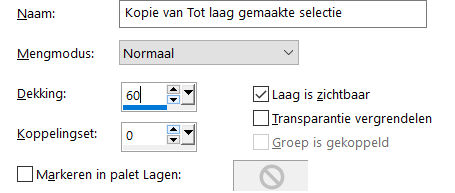
Layers---Properties---Lower the Opacity to 60%
9.
Activate the bottom of the layer palette (Raster 1)
10.
Selections---load/save selection---load selection from disc and select my selection: mb-kerst-4-2020
11.
Selections---Invert
Selections---Promote selection to layer
Effects---Plugins---Carolaine and Sensibility---cs texture
With these settings:---190---0---175---10

Selections---Deselect All
12.
Activate the bottom of the layer palette (Raster 1)
Activate Selection Tool ( S )---

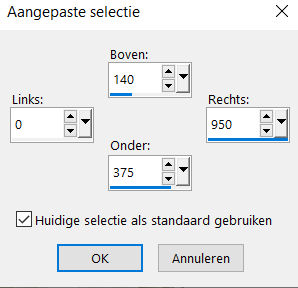
Custom Selection (S)---Rectangle with these settings ---140---0---950---375
13.
Selections---Promote selection to layer
14.
Selections- Deselect All
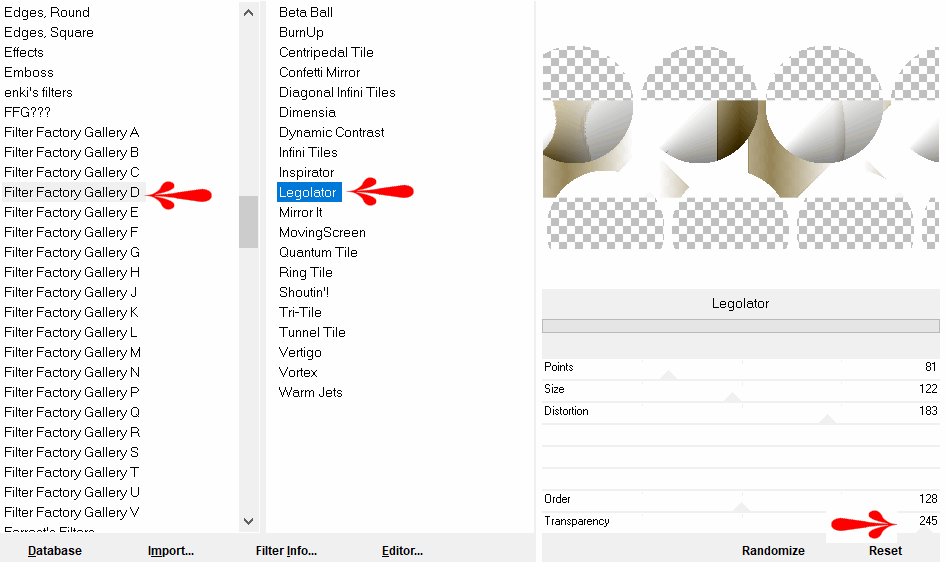
Effects---Plugins---<I C Net Software> Filters Unlimited 2.0---Filter Factory Gallery D---Legolator
---81---122---183---128---245.
15.
Layers---Arrange---Move Up
16.
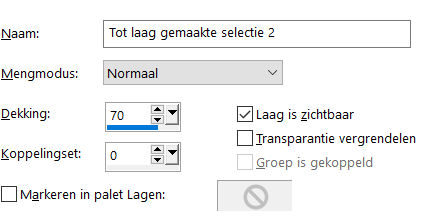
Layers---Properties---and Lower the Opacity to 70%
17.
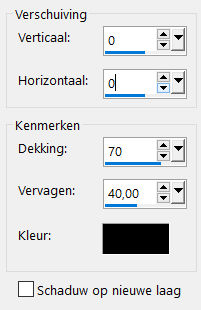
Effects---3D-Effects---Drop Shadow with these settings:---0---0---70---40---Color #000000
18.
Stay on this layer
19.
Open---the tube---deco-1-2020
Edit- Copy
Activate your work---Edit---Paste as a new layer
Adjust---Sharpness---Sharpen
20.
Activate your work---Edit---Paste as a new layer
Pick Tool: (K) on your keyboard---Enter these parameters---Position X 37.00---Position Y 3.00 on the toolbar

21.
Open---the tube---deco-3-2020
Edit--- Copy
Activate your work---Edit---Paste as a new layer
Pick Tool: (K) on your keyboard -Enter these parameters---Position X 215.00---Position Y 31.00 on the toolbar

22.
Open---the---tube-4-2020
Edit- Copy
Activate your work---Edit---Paste as a new layer
Pick Tool: (K) on your keyboard---Enter these parameters---
Position X 684.00---Position Y 105.00 on the toolbar

23.
Press ( M ) to close the Pick Tool
24.
Image---Add borders---Symmetric checked---2 pixels Dark Foreground color
Image---Add borders---Symmetric checked---4 pixels Light Background color
Image---Add borders---Symmetric checked---2 pixels Dark Foreground color
Selections---Select All
Image---Add borders---Symmetric checked---50 pixels Light Background color
Selections---Invert
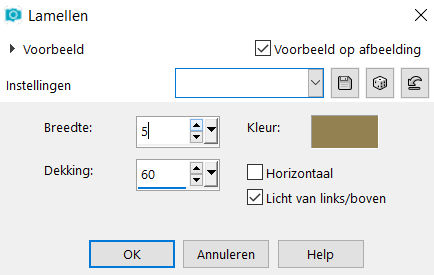
Effects---Textureffects---Blinds with these settings
---5---60---Color#938151---Light from left/top checked
25.
Layers---New Raster Layer
Open---the tube---deco-1-2020
Edit- Copy
Activate your work---Edit---Paste into selection
Adjust---Scharpness--Sharpen
26.
Selections---Invert
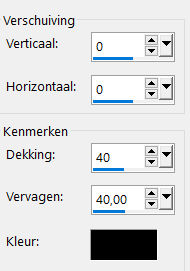
Effects---3D-Effects---Drop Shadow with these settings:---0---0---40---40---Color #000000
27.
Selections---Deselect All
28
Image---Add borders-Symmetric checked---2 Dark Foreground color
Add you watermark on new layer
Save as JPG
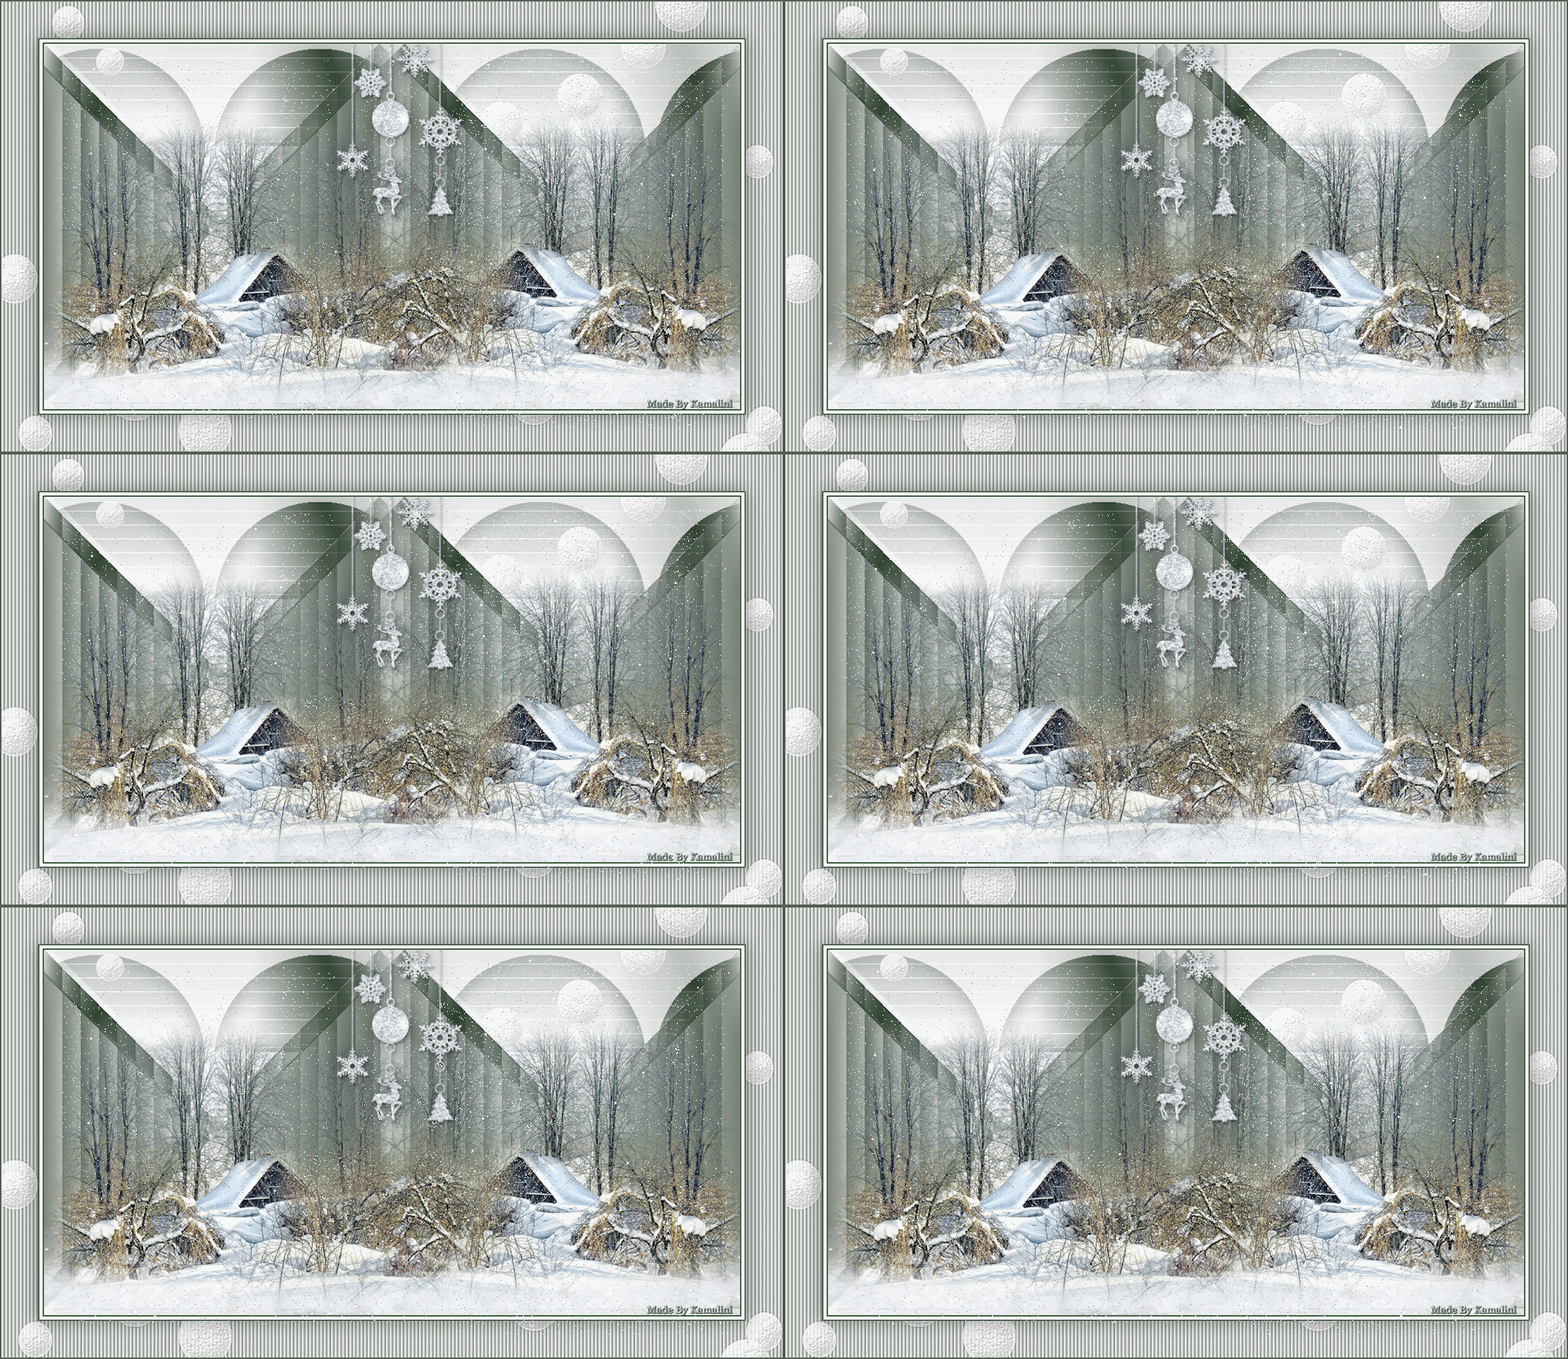
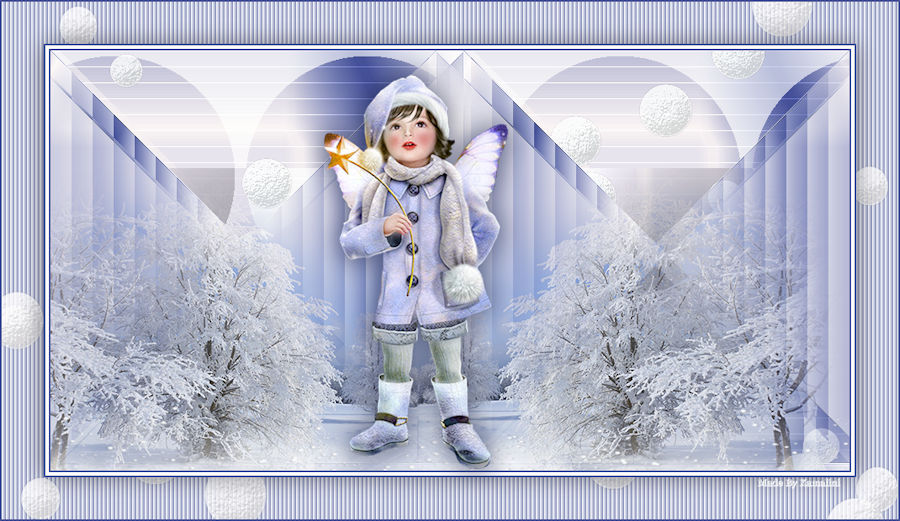
Voorbeelden gemaakt door Kamalini, Hennie en Corrie
Bedankt voor het controleren van de les.
 
|