Lesson 63
This lesson was created in PSP 18, but it can also be made in other versions.
The colors can vary greatly depending on the PSP you are using. . .
Supplies
Material .Here
Color palette
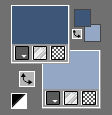
Set your Foreground color to color # 3f5678---Set the background color to color # 94a8c5
1.Open a new image 600 x 600 ---Background color white

2.
Open from your material--- CirkelMB1.png---- Edit--- Copy --- Activate your work --- Edit ---Paste as new layer
3.
Open from your material---CirkelMB2.png--- Edit--- Copy --- Activate your work --- Edit ---Paste as new layer
4.
Open from your material---CirkelMB3.png--- Edit--- Copy --- Activate your work --- Edit ---Paste as new layer
5.
Open tube--- AI---27c1f-removebg-preview.png--- Edit--- Copy --- Activate your work --- Edit ---Paste as new layer
6.
Layers---Arrange---Move Down
7.
Image--- Resize by 85%--- Resize all layers --- Not checked
8.
Activate your Move Tool--- move the tube into the circle. move the tube into the circle.
9.
Use your eraser to carefully erase any excess outside the edge.
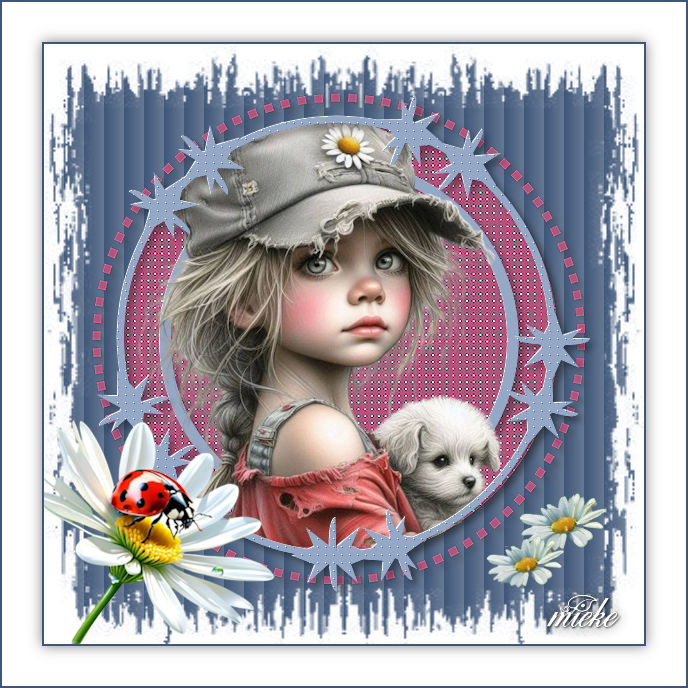
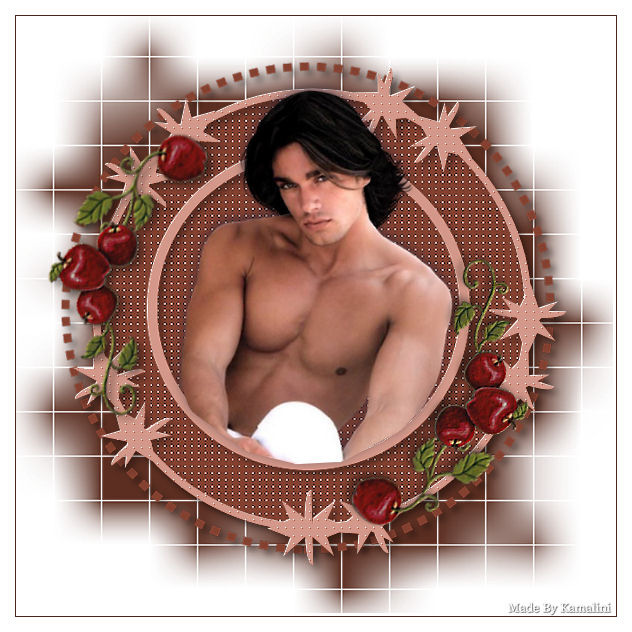
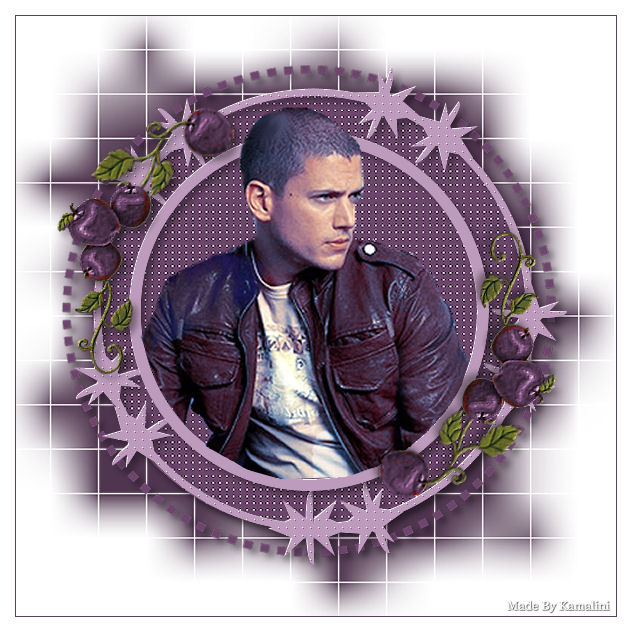
See finished image
10.
Layers---New raster layer ---Flood fill the layer with the dark color
11.
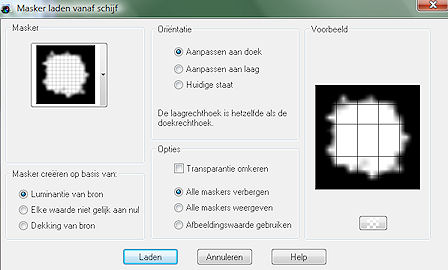
Open WSL_Mask84.jpg. Click on the minus sign in the upper right corner.
Layers---New mask layer---From image---Choose WSL_Mask84.jpg
Source Luminance checked
12.
Layers---Merge---Merge Group
13.
Activate the top of the layer palette
Open the tube --- madelief-1.png
Edit--- Copy --- Activate your work --- Edit ---Paste as new layer ---Move to the bottom left side
14.
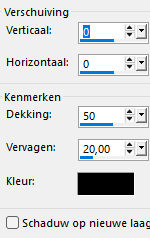
Effects---3D- Effects--Drop Shadow---0---0---50—20---Color #000000
15.
Open the tube --- bloem-klein.png
Edit--- Copy --- Activate your work --- Edit ---Paste as new layer
Move to the bottom right side
16.
Selections---Select All
Image--Add borders---2 pixels---Dark color
Image--Add borders---40 pixels---Color white
Image--Add borders---2 pixels--- Dark color
Repeat the Drop Shadow
Selections---Select none
Add your watermark on a new layer
Save as JPG.
Examples were made by Kamalini and Hennie


|