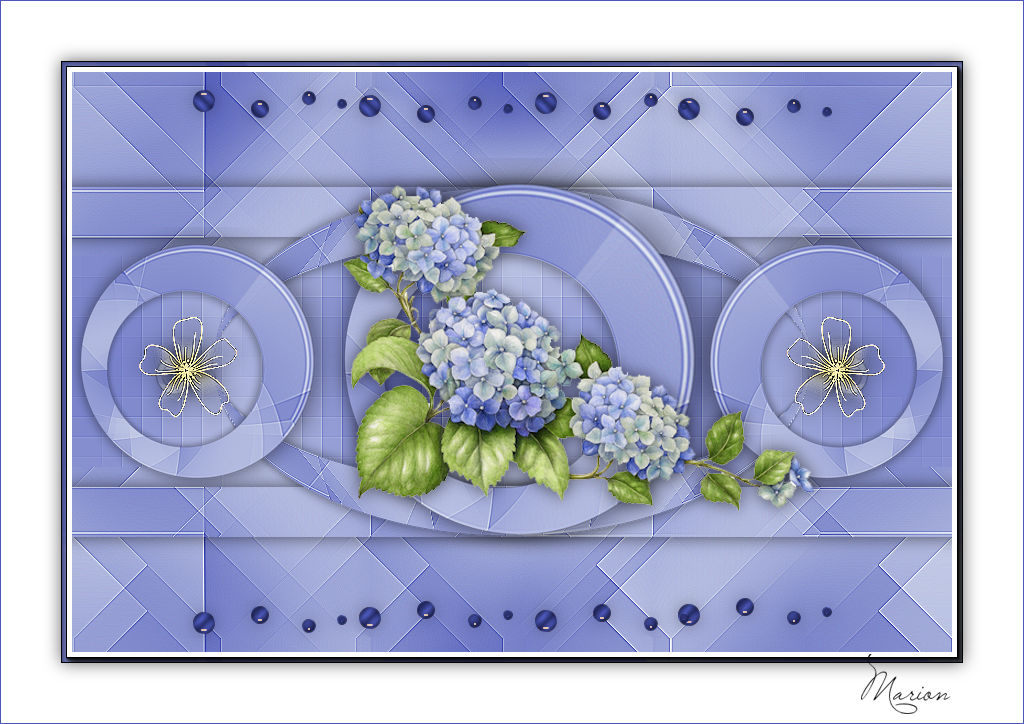
Lesson 265

Translation made by MARION
Material/ Supplies

Plugins
<I C Net Software> Filters Unlimited 2.0>---Simple
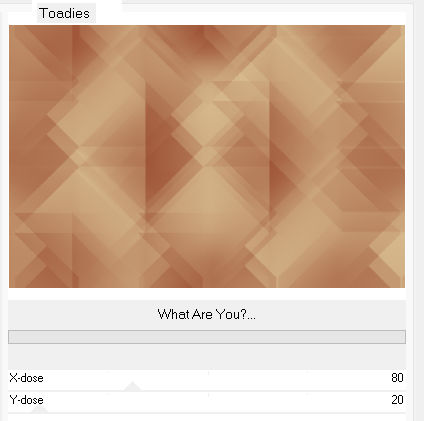
Toadies---What Are You
Flaming Pear---Flexify 2
AAA Frames---Foto Frame
-Material Properties:
Set your foreground color to color
#efe3bb-
Set your background color to color #913a07
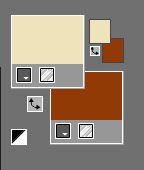
Set your foregroundcolor to foreground/background linear gradient with these settings---25---2.
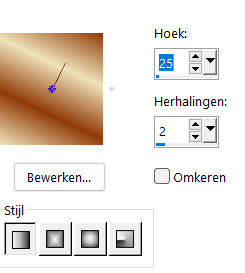
1.
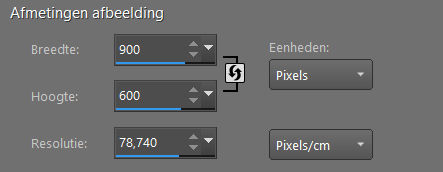
File-Open a new transparent image in this size:
Width---900---Height---600.
2.
Flood Fill Tool-Fill the layer with the gradient.
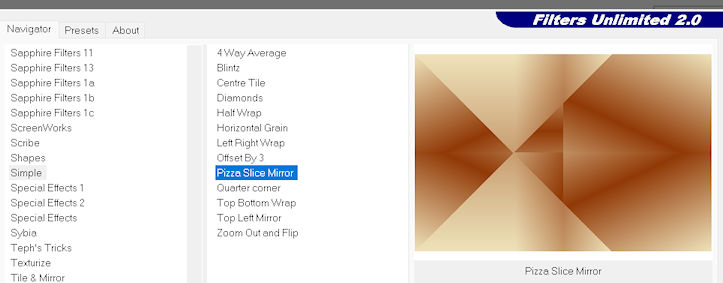
Effects---Plugins---<I C Net Software> Filters in Unlimited 2.0>---Simple---Pizza Slice Mirror
3.
Repeat this filter ---( Edit—Repeat- Filters in Unlimited 2.0---apply)
4.
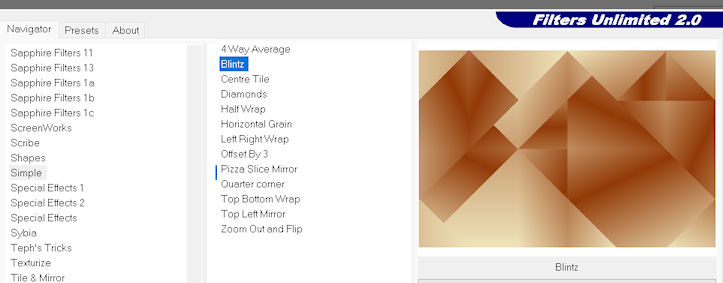
Effects---Plugins---<I C Net Software> Filters in Unlimited 2.0>---Simple---Blintz
5.
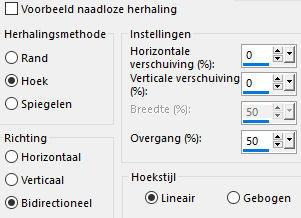
Effects---Image Effects---Seamless Tiling---
---using the default settings
6.
Effects---Plugins---<I C Net Software> Filters in Unlimited 2.0>---Toadies---What Are You---80---20---Apply
7.
Effects---Edge Effects---Enhance More.
8.
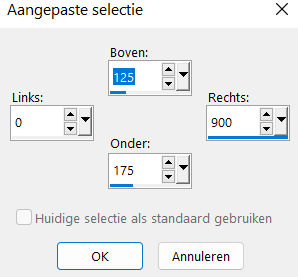
Activate Selection Tool -Custom Selection (S) with these settings

---125---0---900---175
Selections---Promote selection to layer
Selections---Select None
9.
Layers---Duplicate
Image - Mirror - Mirror vertical ( Image - Flip in older versions of PSP)
Layers---Merge---Merge Down.
10.
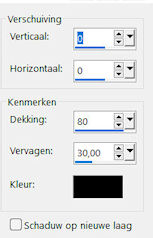
Effects---3D-Effects---Drop Shadow with these settings:--0---0--80---30. Color black
11.
Activate your Magic Wand---Tolerance 0 – Feather 0
Click in the middle of your work
Activate Raster 1 in the layer palette
Selections---Promote selection to layer
12.
Adjust---Blur---Gaussian Blur ---Radius---30.
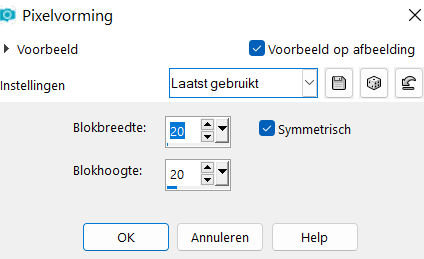
Effects---Distortion Effects---Pixelate---20---20--- symmetric checked.
13.
Effects---Edge Effects---Enhance More.
14.
Selections---Select None.
15.
Activate the top of the layer palette (promoted selection)
Layers---Duplicate
Repeat--- Layers---Duplicate
(3 identical layers)
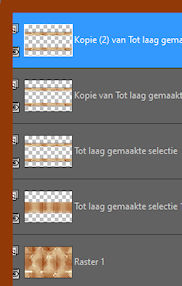
16.
Layers Palette---activate the layer underneath (copy of promoted selection)
17.
Effects---Geometric Effects---Circle.---Transparent

18.
Activate the layer above
(copy 2 of promoted selection )
19.
Effects---Plugins---Flaming Pear---Flexify 2 use the settings below
81---min 14---58---127---equirectangular---stereographic
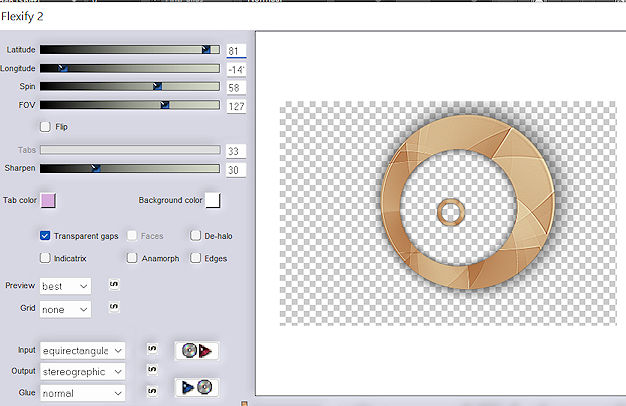
Your work and Layer Palette look like this now
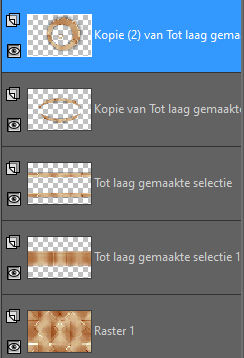
20.
Layers---Duplicate
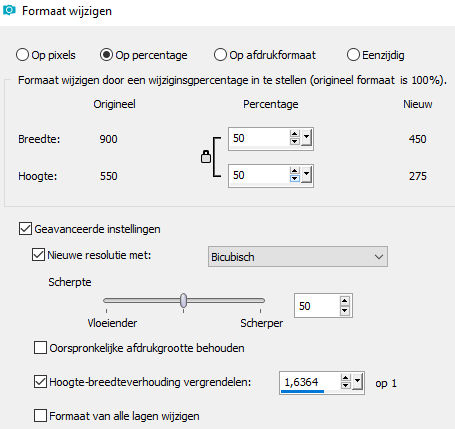
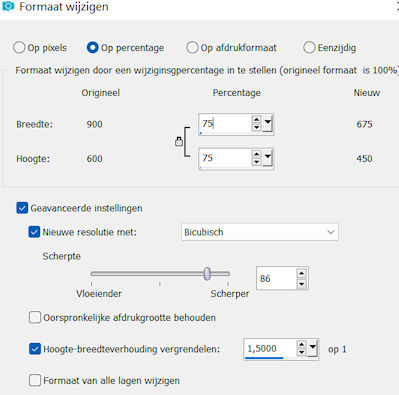
21.
Image---Resize 50%--Resize all layers--Not checked
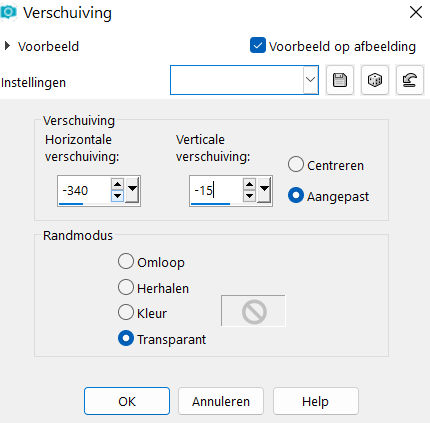
22.
Effects---Image Effects—Offset with these settings:---min 340--- min 15---Custom checked.
23.
Layers---Duplicate
Image - Mirror - Mirror Horizontal (Image - Mirror in older versions of PSP)
24.
In the Layer Palette---Activate copy 2 of promoted selection
Image---Resize 75%--- Resize all layers--Not checked
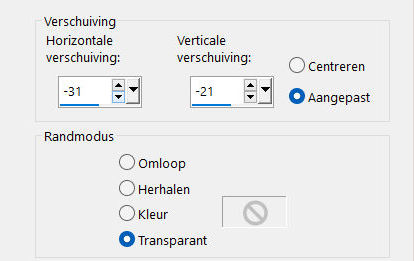
25.
Effects---Image Effects—Offset with these settings ---min 31----min 21
26.
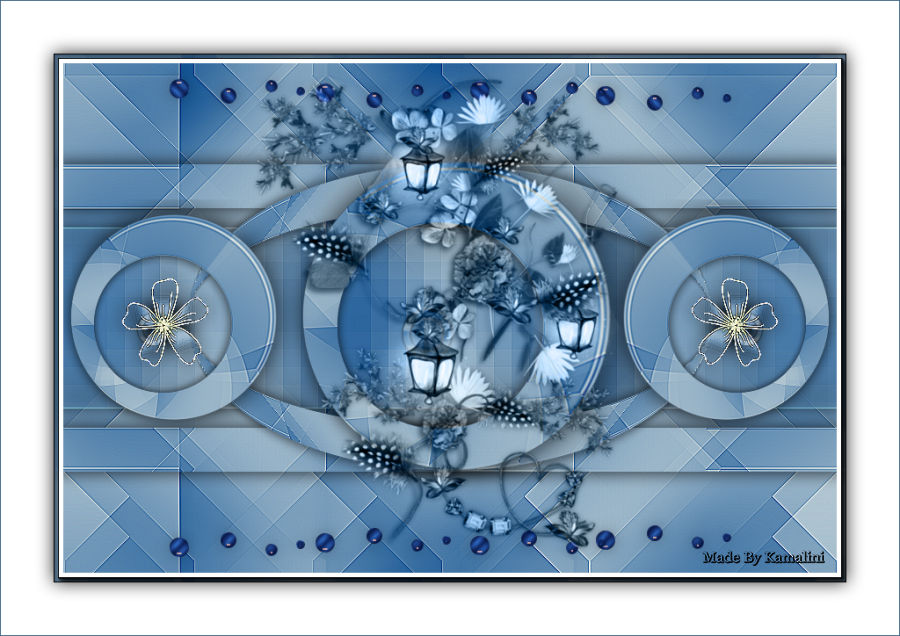
Open the Tube ---1 (35).png
Edit---Copy
Activate your work -Edit - Paste as a new layer
Effects---3D-Effects---Drop Shadow with these settings ---0---0--80---30. Color black.
27.
Layers- Arrange- Bring to Top
28.
Open the Tube---deco-1-bloem.jpg
Edit---Copy
Activate your work -Edit - Paste as a new layer
Effects---Image Effects---Offset---325---min 5---Custom checked.
Layers---Duplicate.
Image - Mirror - Mirror Horizontal (Image - Mirror in older versions of PSP)
29.
Open—the Tube-deco-2.png
Edit---Copy
Activate your work -Edit - Paste as a new layer
Layers--Arrange Move 3 times Down ---(3x)
30.
Image - Add Borders-Symmetric checked ---1 Pixel--- with your dark color
Selections---Select All
Image - Add Borders-Symmetric checked ---60 Pixels---Color white
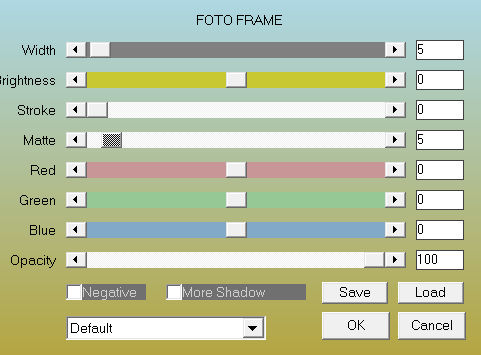
Effects---Plugins---AAA Frames---Foto Frame---Width 5---Matte 5--- rest default.
Effects---3D-Effects---Drop Shadow with these settings ---0---0--80---30. Color black.
Image - Add Borders-Symmetric checked ---1 Pixel--- with your dark color
Selections---Select None.
Add you watermark on new layer.
Save as JPG.
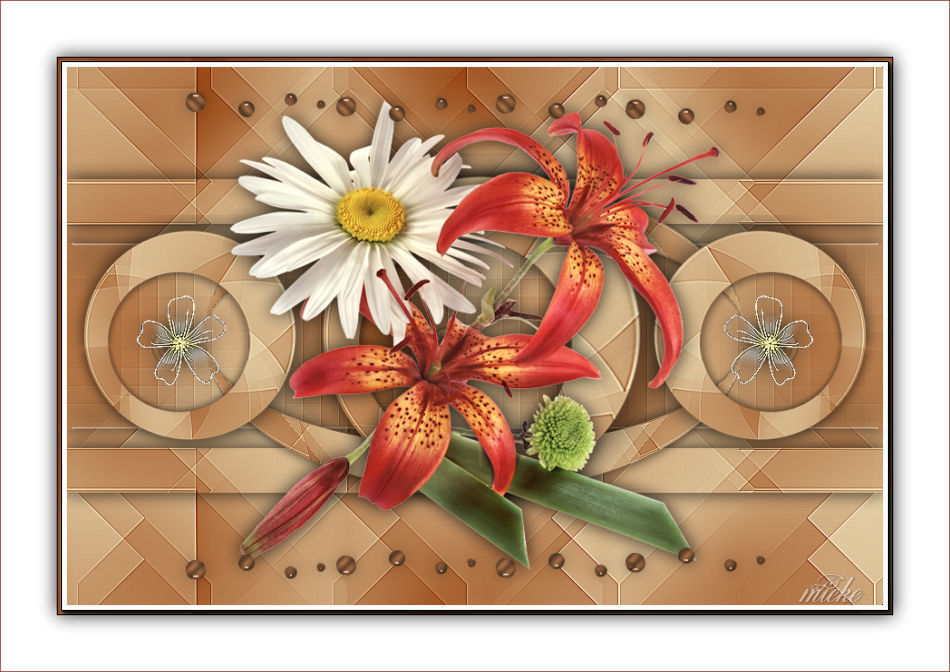
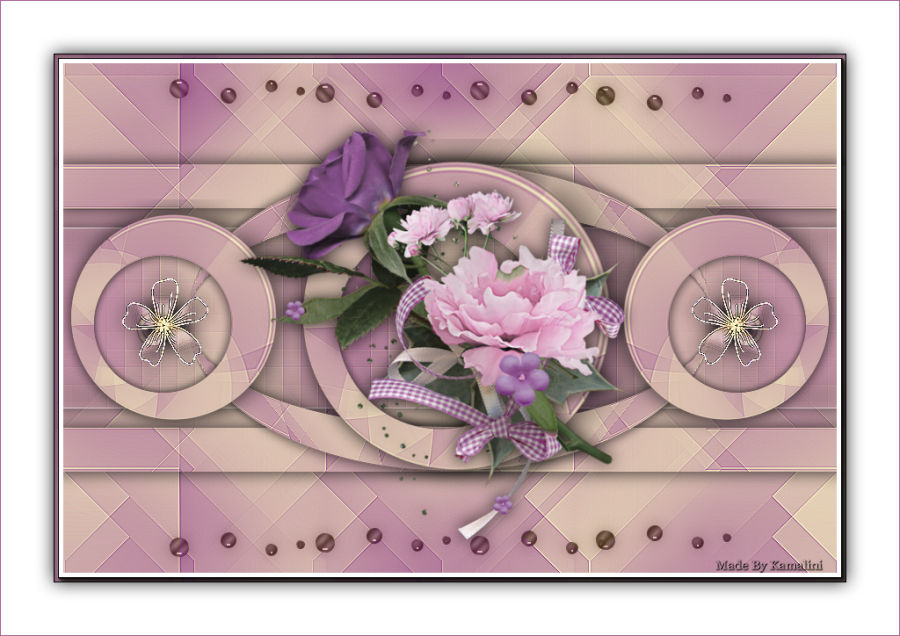
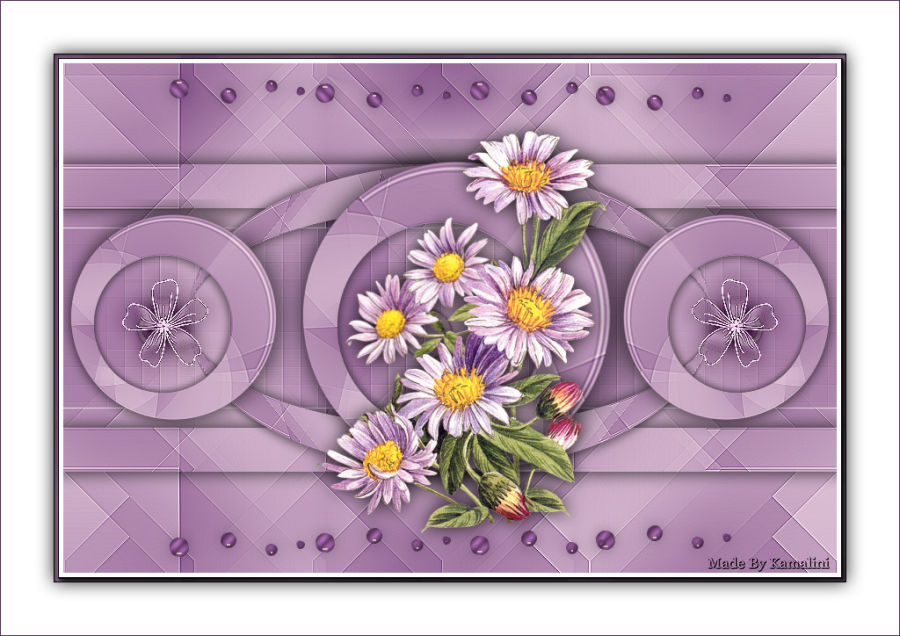
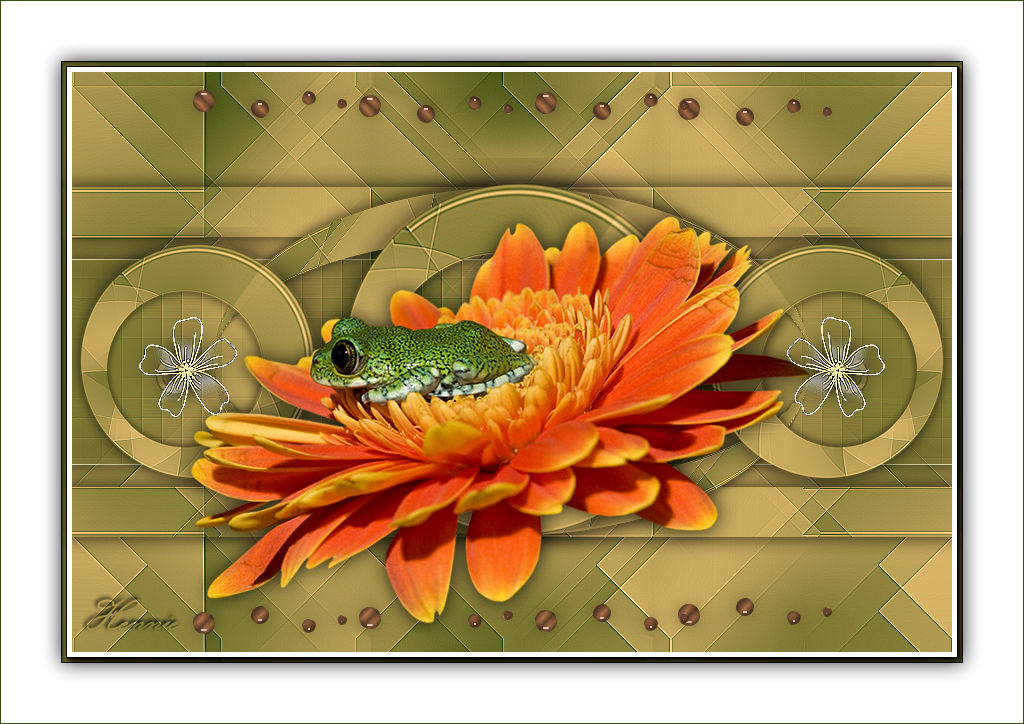
Voorbeelden gemaakt door---Kamalini---Hennie---Corrie---Marion

|