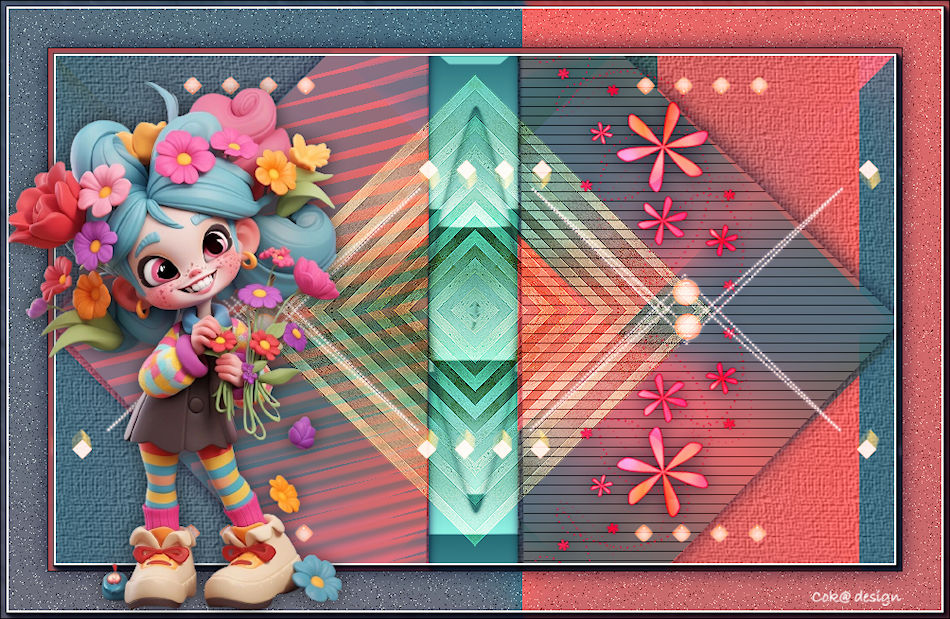
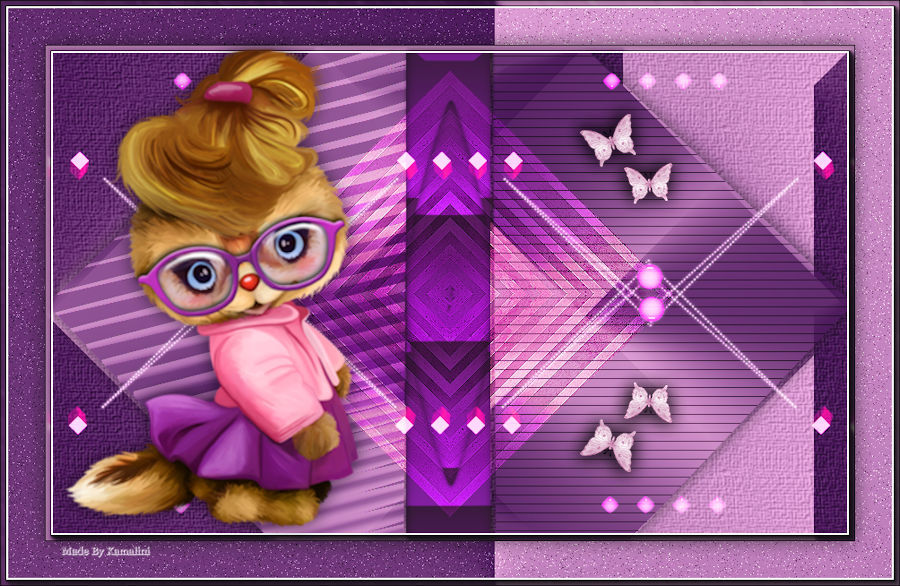
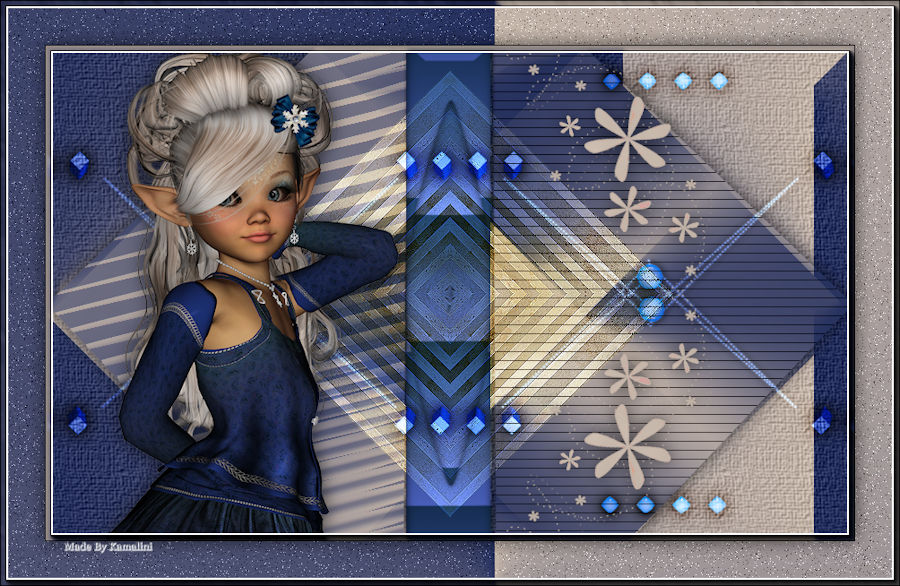
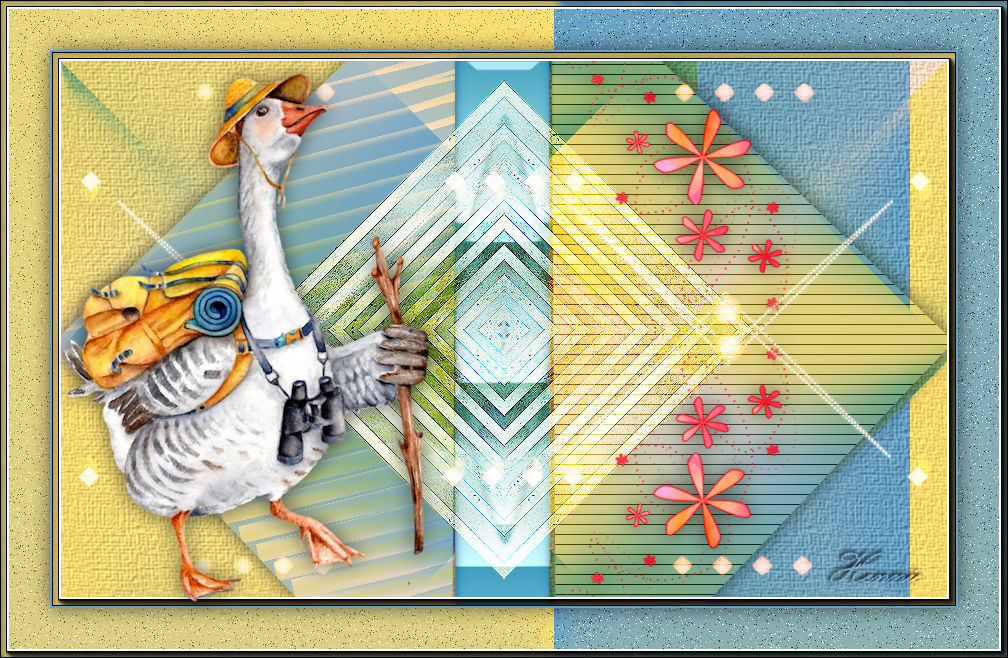
Lesson -276

Engelse Vertaling door Marion
Supplies
Material
Plugins
Filter---Mehdi---Sorting Tiles
Filter---L en K landssiteofwonders---Elvida
Filter---Carolaine and Sensibility—cs—texture
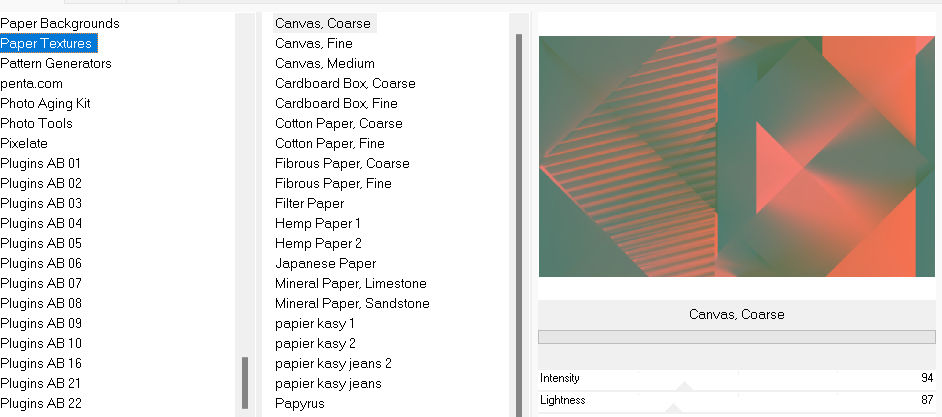
Filter <I C Net Software> Filters Unlimited 2.0>Paper Textures
Filter---AAA Frames---Foto Frame
Material Properties: Set your Foreground color to # f67150
and your Background color to # 4e7c70
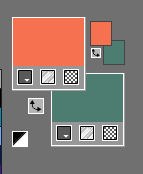
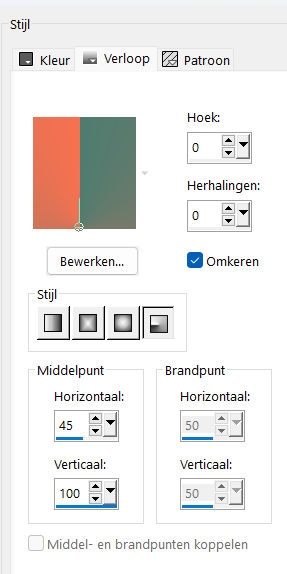
Properties Foreground- Prepare a Foreground/Background Radial Gradient configured like this
---0---0---45-100---Invert Checked.
1.
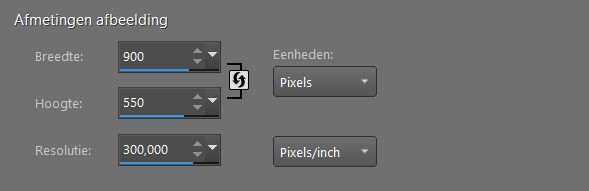
File: Open a Transparent Image in this size
Width ---900---Height--- 550 Pixels
Flood Fill Tool – Fill the layer with the Gradient
2.
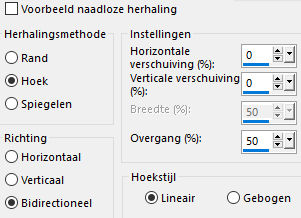
Effects---Image Effects---Seamless Tiling using the default settings
3.
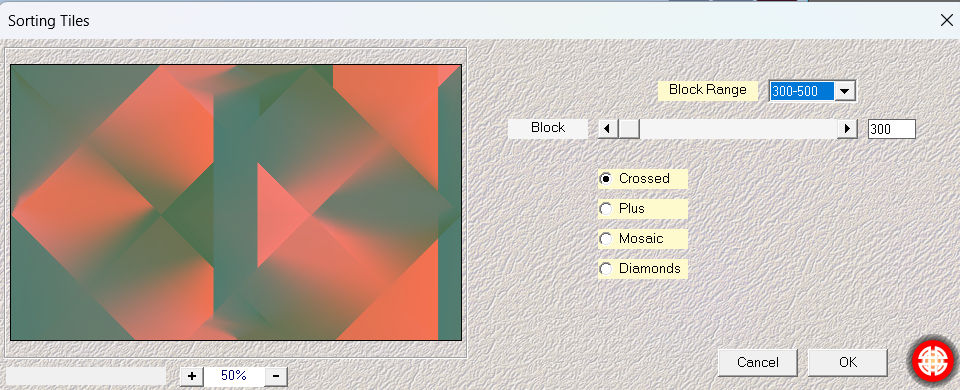
Effects--Plugins---Mehdi---Sorting Tiles---300---500---300---Crossed with these settings
4.
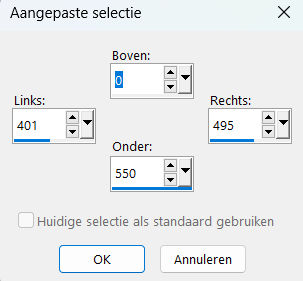
Activate Selection Tool -Custom Selection (S) -Rectangle with these settings
---Top 0---Left--- 401---Right--- 495---Bottom--- 550

5.
Layers- New Raster Layer
Flood Fill Tool-Fill the selection with the background color #4e7c70
Selections---Select None
6.
Activate the bottom Layer in the Layer Palette (Raster 1)
Selections –load/save selection –load selection from disc and select my selection:--- mb-276.PspSelection
Selections---Promote Selection to Layer
7.
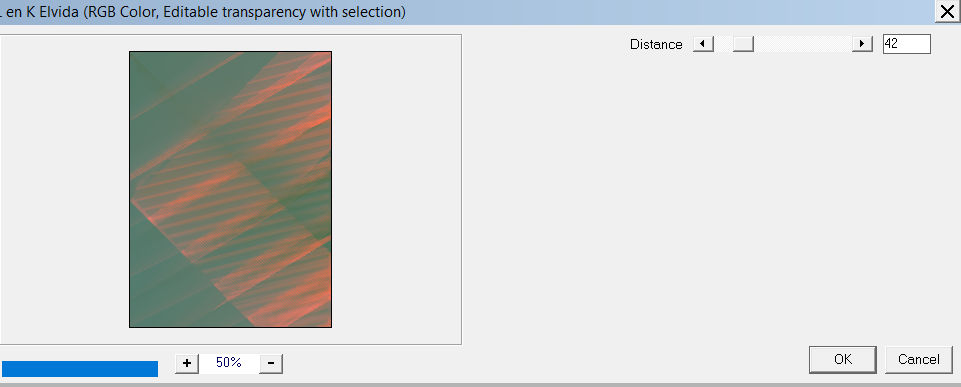
Effects---Plugins---L en K landssiteofwonders---Elvida ---42--(Background color #4e7c70)
8.
Selections---Edit---Selection
9.
Image - Mirror - Mirror Horizontal (Image - Mirror in older versions of PSP)
10.
Activate the bottom Layer in the Layer Palette (Raster 1)
11.
Selections---Edit---Selection
12.
Selections---Promote Selection to Layer
13.
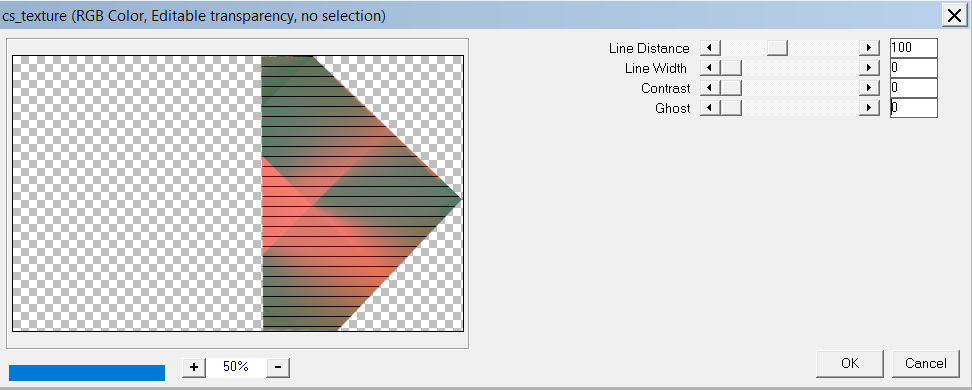
Effecten---Insteekfilters---Carolaine and Sensibility—cs—texture---100---0---0---0.
14.
Selections---Select None
15.
In the Layer Palette activate Promoted Selection( the second layer from the top )
16.
Layers- Merge – Merge Down
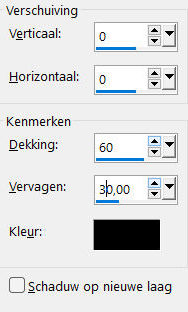
Effects---3D-Effects---Drop Shadow with these settings: ---0---0--60---30--- Color Black
17.
Open---the Tube deco-2.png
Edit---Copy
Activate your work
Edit - Paste as a new layer
Layers---Arrange---Bring to Top.
Layers-Properties-Change the Blend Mode to " Overlay "
18.
Activate the bottom Layer in the Layer Palette (Raster 1)
Effects---Plugins <I C Net Software> Filters in Unlimited 2.0>Paper Textures---Canvas Coarse---94---87
19.
Activate the Top of the Layer Palette
20.
Open---the Tube deco-1.png
Edit---Copy
Activate your work
Edit - Paste as a new layer
Layers-Properties-Change the Blend Mode to " Overlay "
21.
Open---the Tube ---deco-2.png
Edit---Copy
Activate your work
Edit - Paste as a new layer
Layers-Properties-Change the Blend Mode to " Overlay "
22.
Open---the Tube deco-3.png
Edit---Copy
Activate your work
Edit - Paste as a new layer
23.
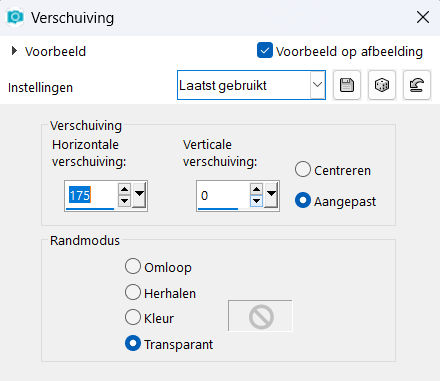
Effects---Image Effects---Offset with these settings
---175---0--- Custom---Transparent checked
Effects---3D-Effects---Drop Shadow with the same settings: ---0---0--60---30--- Color Black
24.
Open---the Tube deco-4
Edit---Copy
Activate your work
Edit - Paste as a new layer
Layers-Properties-Change the Blend Mode to " Screen "
25.
Image - Add Borders-Symmetric checked ---2 Pixels—Foreground color # f67150
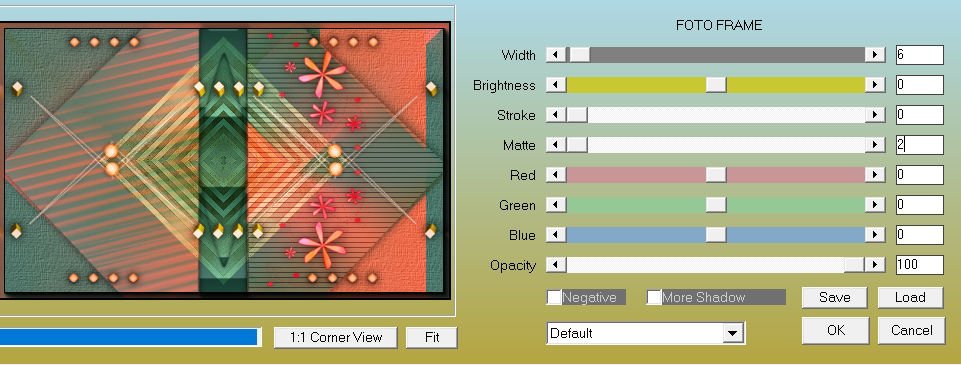
Plugins ---AAA Frames---Foto Frame---6---0---0---2 (rest default)
Selections---Select All
26.
Image - Add Borders-Symmetric checked ---50 pixels---Color white
Selections---Invert.
.
Flood Fill Tool –Fill the selection with the Gradient
Selections---Promote Selection to Layer
Image - Mirror - Mirror Horizontal (Image - Mirror in older versions of PSP)
27.
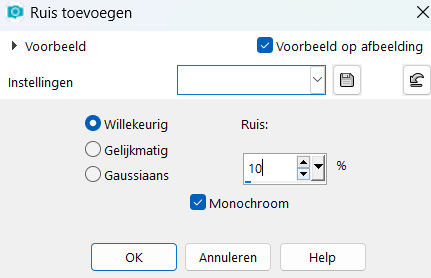
Adjust---Add/Remove Noise---Add Noise---Random---Noise 10 %---Monochrome checked
28.
Selections---Invert
Effects---3D-Effects---Drop Shadow with the same settings: ---0---0--60---30--- Color Black
Selections---Select None
Layers- Merge- Merge All (flatten)
29.
Effects---Plugins---AAA Frames---Foto Frame---6---0---0---2 (rest default)
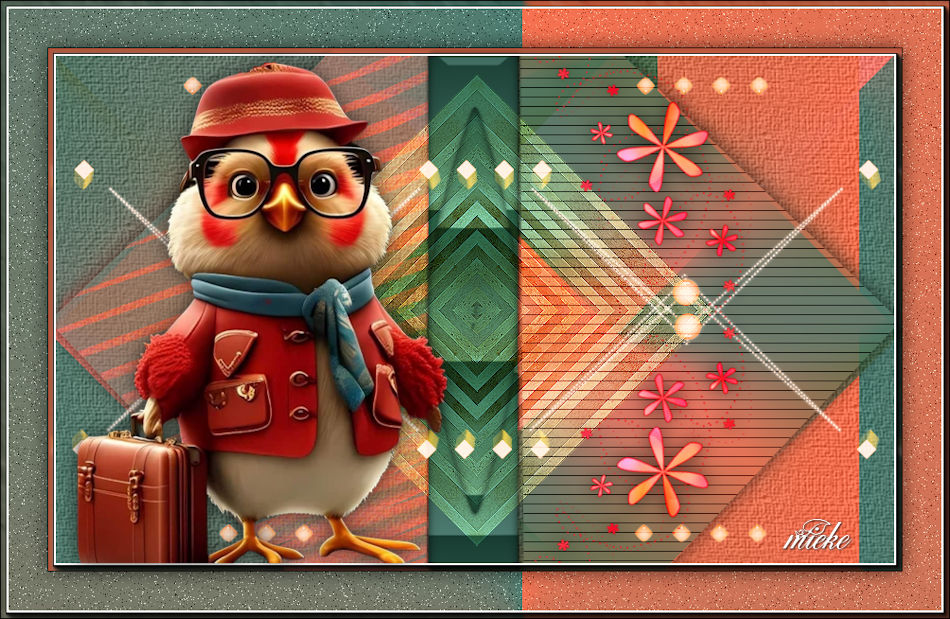
Open ---the Tube fa969-.png.
Edit---Copy
Activate your work
Edit - Paste as a new layer
Effects---3D-Effects---Drop Shadow with the same settings: ---0---0--60---30----Color Black
31
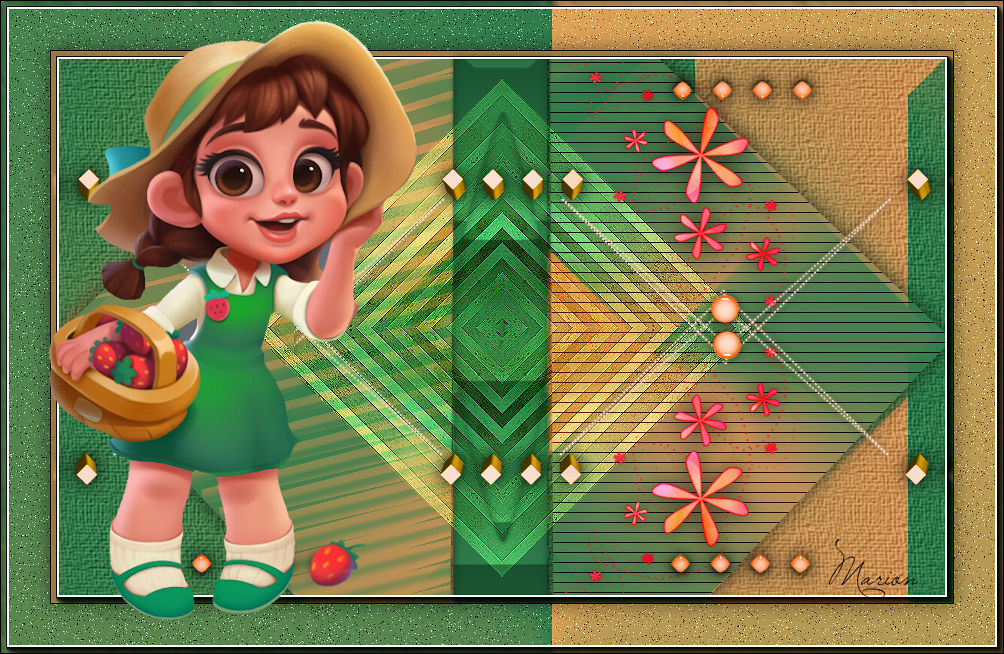
Move the Tube to the Left ( see finished image).
Add you watermark on new layer.
Save as JPG
Voorbeelden gemaakt door Kamalini-Hennie-Corrie-Marion


|