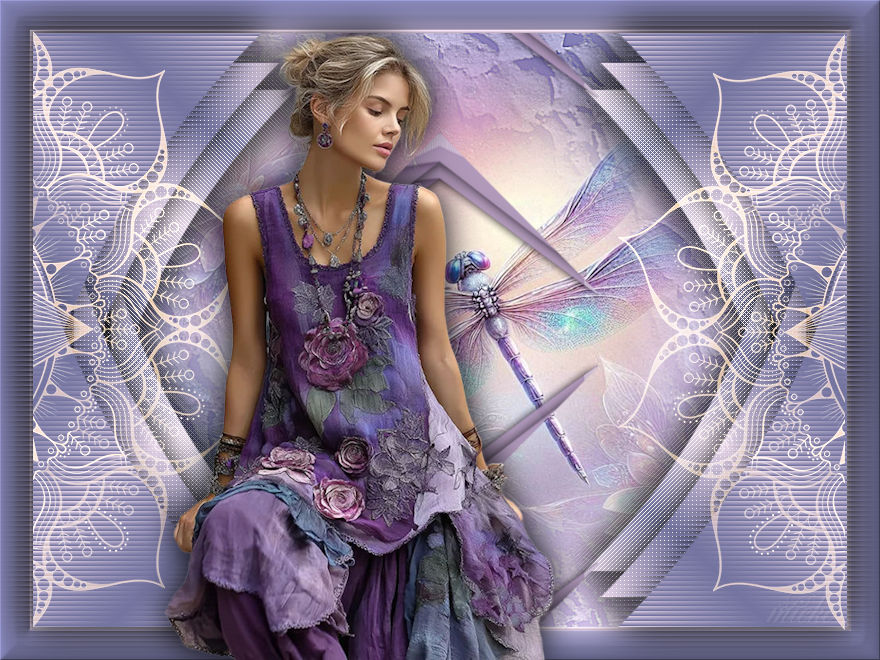
Lesson-292
Translation made by MARION

Material

Filters
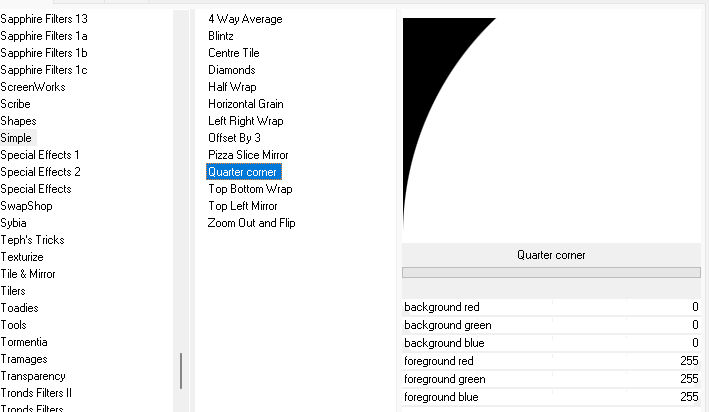
filter---<I C Net Software> Filters Unlimited 2.0>---Simple--- Quarter corner
filter---AP 01 (Innovations)-Lines-SilverLining
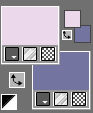
Colors
Foreground color #ebd9eb--- Background color #7474a0
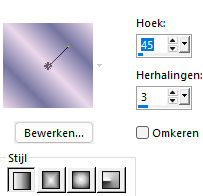
Replace your foreground with a foreground/background linear gradient configured like this- ---45----3
1.
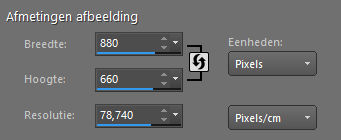
File---Open a new transparent image in this size
Width 880 --- Height 660.
2.
Selections---Select All
3.
Open the Image ---Ag-293
Edit---Copy
Activate your work ---Edit --- Paste into Selection
4.
Selections---Modify---Contract ---33 pixels---
Layers---New raster layer
Fill the selection with your dark color.
5.
Effects---Plugins---<I C Net Software> Filters in Unlimited 2.0>---Simple--- Quarter corner.jpg
6.
Selections---Select none
7.
Activate your magic wand---Add Shift---RGB value---Tolerance---Feather---- Both to 0
Click in the white part of the image.
Click delete on your keyboard.
Selections---Select none
8.
Activate your magic wand---Add---RGB value---Tolerance---Blur---- Both to 0
CLICK ON THE BLACK PART OF THE IMAGE
Click delete on your keyboard
Fill the selection with the gradient
Selections---Select none
9.
Layers---Duplicate
Image - Mirror - Mirror Horizontal (Image - Mirror in older versions of PSP)
Layers---Merge---Merge Down.
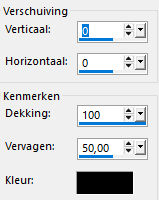
Effects---3D Effects---Drop Shadow---0---0---100---50. Color black.
10.
Layers---Duplicate
Image - Mirror - Mirror vertical ( Image - Flip in older versions of PSP)
Layers---Merge---Merge Down.
11.
Layers---Duplicate
Image---Resize 90%---Resize all layers ---Not checked
Layers---Arrange---Move down.
12.
Layers---Duplicate
Image---Resize 90%---Resize all layers ---Not checked
Layers---Arrange---Move down.
(Stay on this layer.)
13.
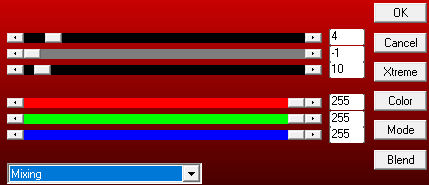
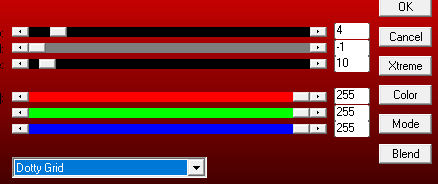
Effects---Plugins AP 01 (Innovations)-Lines-SilverLining---Mixing—4---min1-10---3x-255
14.
Activate the layer above
Effects ---Plugins---AP 01 (Innovations)-Lines-SilverLining---Doty Grid—4---min1-10---3x-255
Change ---Mixing---in Dotty Grid
15.
Activate the top layer
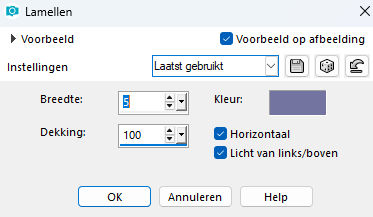
Effects---Texture Effects---Blinds---5---100---Dark Color ---Horizontal---
Light from left/Topchecked
16.
Layers---Merge---Merge Down
Repeat once more.
17.
Effects---3D Effects---Drop Shadow---0---0--100---50. Color black.
18.
Open--- 2025 03 20 Cat Dana N 2.pspimage (Remove the watermark.)
Edit---Copy
Activate your work ---Edit - Paste as new layer
Layers---Arrange ---Move down
Image---Resize 90%---Resize all layers ---Not checked---Repeat this 2 more times.
19.
Open tube--- deco-8ec-removebg-.pspimage
Edit---Copy
Activate your work ---Edit - Paste as new layer
Layers---Arrange---Bring to Top
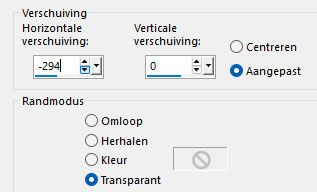
Effects---Image Effects --- Offset ---minus 294---0---Custom---Transparent checked
20.
Layers---Properties---Blend Mode--- Screen.
21.
Layers---Duplicate
Image - Mirror - Mirror Horizontal (Image - Mirror in older versions of PSP)
Layers---Merge---Merge Down
22.
Adjust---Sharpness---Sharpen
23.
Open tube---Deco-2
Edit---Copy
Activate your work ---Edit - Paste as new layer
24.
Open tube--- Remove-bg.ai_175.pspimage
Edit---Copy
Activate your work ---Edit - Paste as new layer
Image---Resize 90%---Resize all layers ---Not checked---
25.
Repeat the drop shadow---0---0---100---50---Color black.
26.
Image --- Add Borders---Symmetric checked---2--- Pixels color black.
Add your watermark on a new layer
Save as JPG.
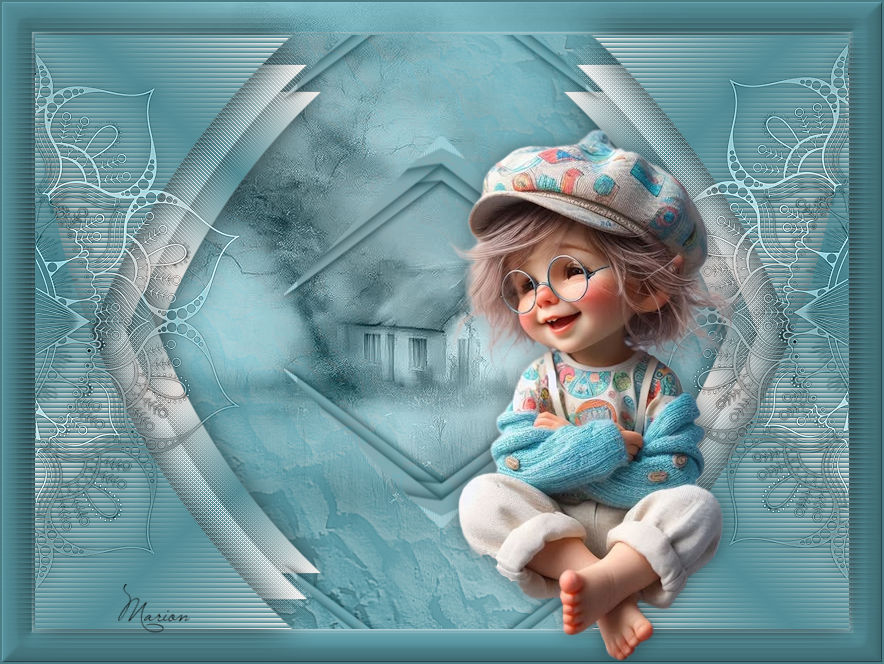
Voorbeelden gemaakt en getest door
Kamalini-Hennie-Corrie-Marion


|